- Overview
- Licensing
- User interface
- Photovoltaic project
- Photovoltaic project
- Wizard of photovoltaic project
- Wizard of photovoltaic system
- Choice of type of photovoltaic system
- Properties of photovoltaic system
- Location of system
- Users consumption
- Project settings
- Sizing batteries on Grid Connected
- Sizing batteries on Stand Alone
- Select photovoltaic module
- Inverter sizing
- Electrical panel DC and AC
- Electrical Components sizing
- Properties
- Location and shadings
- System
- Layout
- Economic analysis
- Electrical scheme
- CAD capabilities
- Tools and databases
- Reports
- Bases of calculations
|
Shadows
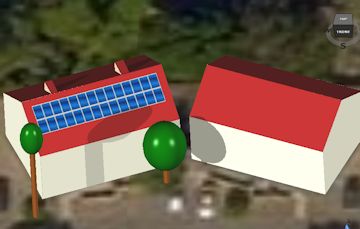
This context of Layout is in charge of analyzing the shadows generated by obstacles near the system. This is possible by inserting in the scene the objects that can be obstacles able to shade the strings of the system. The objects that can be added are:
This section contains the tools to study the interference between the shadows of nearby objects to the system and the photovoltaic modules.
The Shadows command opens a window that allows you to set the position of the sun by:
You can also make the animation of shadings by the move of the sun along its trajectory daily specifying the Start date and End date of simulation. The buttons Start, Stop and Pause managing the execution of the animation. The track-control Speed allows you to change the speed of execution of the animation.
You can also define the points of the shadows evaluation on the areas using the command Add Shade Point. In this way it defines a point on the area to which to plot a Shade diagram.
Selecting a shade point the command Show Shade Diagram of point it is enabled, this command shows the Shade diagram on the point.
In the 3D View you cannot change the geometry of the obstacles inserted in this section, but selecting the objects it is possible to modify any associated property, seeing the result of modification instantly in 3D. |
