- Overview
- Licensing
- User interface
- Photovoltaic project
- Photovoltaic project
- Wizard of photovoltaic project
- Wizard of photovoltaic system
- Choice of type of photovoltaic system
- Properties of photovoltaic system
- Location of system
- Users consumption
- Project settings
- Sizing batteries on Grid Connected
- Sizing batteries on Stand Alone
- Select photovoltaic module
- Inverter sizing
- Electrical panel DC and AC
- Electrical Components sizing
- Properties
- Location and shadings
- System
- Layout
- Economic analysis
- Electrical scheme
- CAD capabilities
- Tools and databases
- Reports
- Bases of calculations
|
Modules
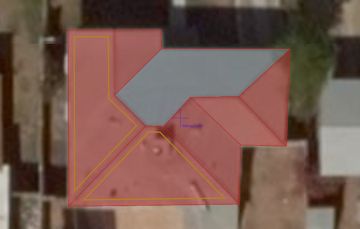
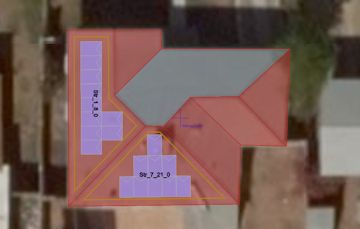
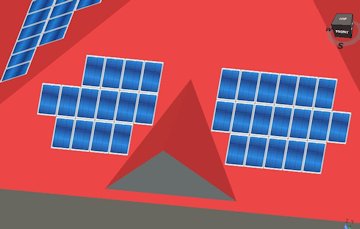
This context of the Layout functions is dedicated to the arrangement of modules and strings within areas already defined in the Area context. In this case you can see all the already defined areas, but these can not be changed in this context, but only in that of the areas. The modules can only be inserted within the areas already defined. When selecting an area, you can decide whether you want to enter modules in this area, you can do this with the check mark on Insert modules on this area.
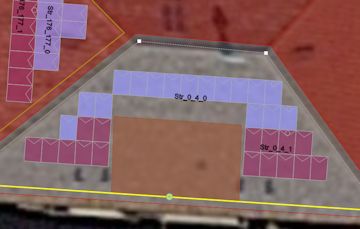
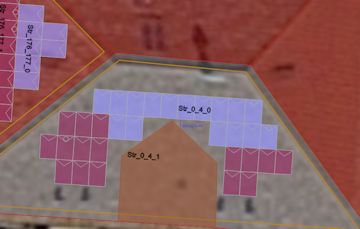
When you enable an area to the insertion of the modules, the program shows the sectors in the area and the properties that configure the arrangement of the modules within the sectors of the area. Note that these properties are applied to all sectors of the area. The first time you enter in the Context of the modules, the program tries to automatically enable certain areas, but the user can immediately change this choice if is not correct. Also in each area a sector that has the same geometry of the area, less than an offset, is automatically built. The default sector can be edited by the user or even deleted and replaced by a more sectors completely different from the initial one.
The modules can be arranged exclusively within sectors. and the user can insert any number of sectors in the area using command Add Sector. The areas belong to each area and must be fully designed within their area.
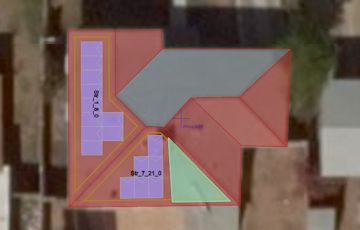
Within each area you can define zones in which the modules cannot be positioned, these areas are named "Clear Path" and it is possible define them using the command Add Clear Path. It is a closed polygon built by inserting the the vertices, the last vertex it must overlay the first. Each Clear Path must be internal to the area but may overlap with other sectors or Clear Path.
Be careful that the Clear Path is drawn within the currently selected area.
Similar to the ClearPath, over an area can be defined other areas where you cannot place the modules, these are Chimney and Dormer. But unlike to ClearPath these are also considered as obstacles and are therefore considered in the calculation of losses for shading and in analysis of the radiation of the area.
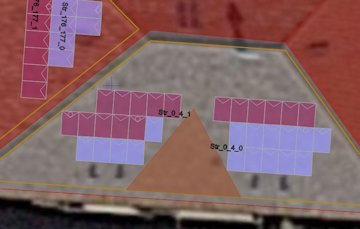
Using Add Chimney it is possible to add a chimney to an area, It is a closed polygon built by inserting the the vertices, the last vertex it must overlay the first. Chimney must be internal to the area but may overlap with other sectors. Selecting the Chimney it is possible to specify its height, which is calculated from the lower intersection with the area. Similarly for Dormer with Add Dormer it is possible to add a dormer to an area, it is a closed polygon with 3, 4 or 5 vertices to represent three types of Dormer. Dormer must be internal to the area but may overlap with other sectors. 3 vertex Dormer:
4 vertex dormer:
5 vertex Dormer:
If you select any type of dormer you can set its Height. If you set the check mark on Height automatically computed, the height will be calculated by the program so that the top of the dormer is horizontal.
The user can select and freely move the modules within the sector they belong to. By double-clicking a single module you bring in selection all modules of the string so that the string can be moved uniformly.
The arrangement of the modules within the sectors is performed automatically by the program, on the basis of the properties of arrangement defined for the area. At each modification of the geometry of the sectors or of the Clear Path, or of the arrangement properties, the program calculates the new modules arrangement. When making the required arrangement, you can lock any modification on area with the check mark on Lock the modules arrangement.
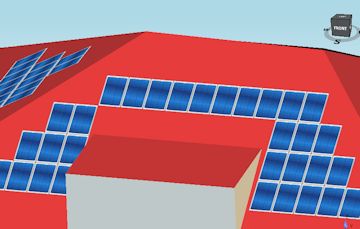
In the 3D View you cannot change the geometry of the objects inserted in this section, but selecting the objects it is possible to modify any associated property, seeing the result of modification instantly in 3D.
|
